
Heart Cake Tutorial: Step-by-Step for Beginners
Are you looking to make a heart-shaped cake but not sure where to start? Whether you’re preparing for Valentine’s Day, a birthday, or simply want to create a cake that shows you care, making a heart-shaped cake is a wonderful way to add a personal touch to any celebration. In this heart cake tutorial, we’ll walk you through a simple, step-by-step process that’s perfect for beginners. From baking the cake to decorating it with ease, you’ll be able to create a beautiful heart-shaped cake in no time. No fancy equipment or baking experience required – just follow along and impress your friends and family with a stunning, homemade heart cake!
If you’re interested in other fun baking ideas, check out our post Heart Cake: Easy Recipe for a Romantic Treat
Why a Heart-Shaped Cake is Perfect for Special Occasions
1. Versatile for Different Celebrations
A heart-shaped cake can be used for many different celebrations, making it a go-to dessert for many occasions. Whether it’s Valentine’s Day, a birthday, or an anniversary, this cake is an iconic symbol of love and affection. It’s perfect for any event that celebrates love and togetherness.
2. A Personal Touch to Your Baking
There’s something truly special about a homemade cake. It shows that you’ve put in time and effort, making the cake personal and meaningful. A heart-shaped cake takes this personalization up a notch by symbolizing the love and care that went into both baking and decorating it.
3. Fun for All Skill Levels
Even if you’re new to baking, you’ll find that making a heart-shaped cake is surprisingly simple. You don’t need to be a professional baker to impress your friends or family with this gorgeous treat. With just a few ingredients and a little creativity, anyone can bake a heart-shaped cake.
The Basic Ingredients and Tools You’ll Need
1. Essential Ingredients for a Heart Cake
Before you get started, make sure you have the essential ingredients. You’ll need:
-
2 cups of all-purpose flour
-
1 ½ cups of sugar
-
3 large eggs
-
1 cup of unsalted butter
-
2 teaspoons of vanilla extract
-
½ cup of milk
-
Baking powder, salt, and optional food coloring for extra flair
2. Tools to Make a Heart-Shaped Cake
To bake your cake, you’ll need some basic tools:
-
A heart-shaped cake pan (you can also use a round pan and cut it into a heart shape)
-
A mixer (hand or stand)
-
A spatula for frosting
-
A piping bag and tips for decorating
3. Optional Ingredients for Extra Flair
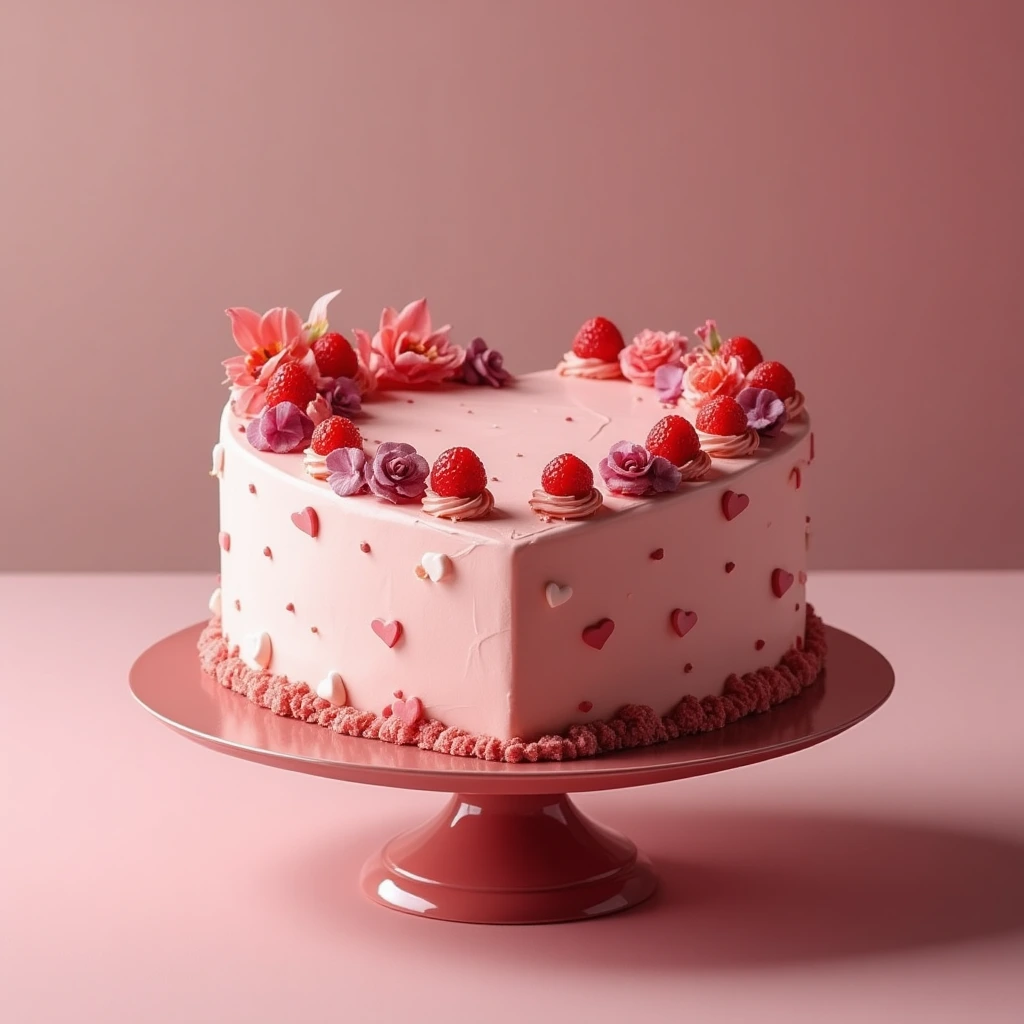
Consider adding sprinkles, edible glitter, or food coloring to elevate your heart cake’s appearance. Edible flowers also add a beautiful and natural touch, especially if you’re creating a romantic cake for someone special.
Step-by-Step Instructions for Baking Your Heart Cake
1. Prepare the Cake Batter
Start by preheating your oven to 350°F (175°C). In a bowl, combine the dry ingredients: flour, baking powder, and salt. In another bowl, cream the butter and sugar until light and fluffy. Add in the eggs, one at a time, followed by the vanilla extract. Gradually mix in the dry ingredients and milk until smooth.
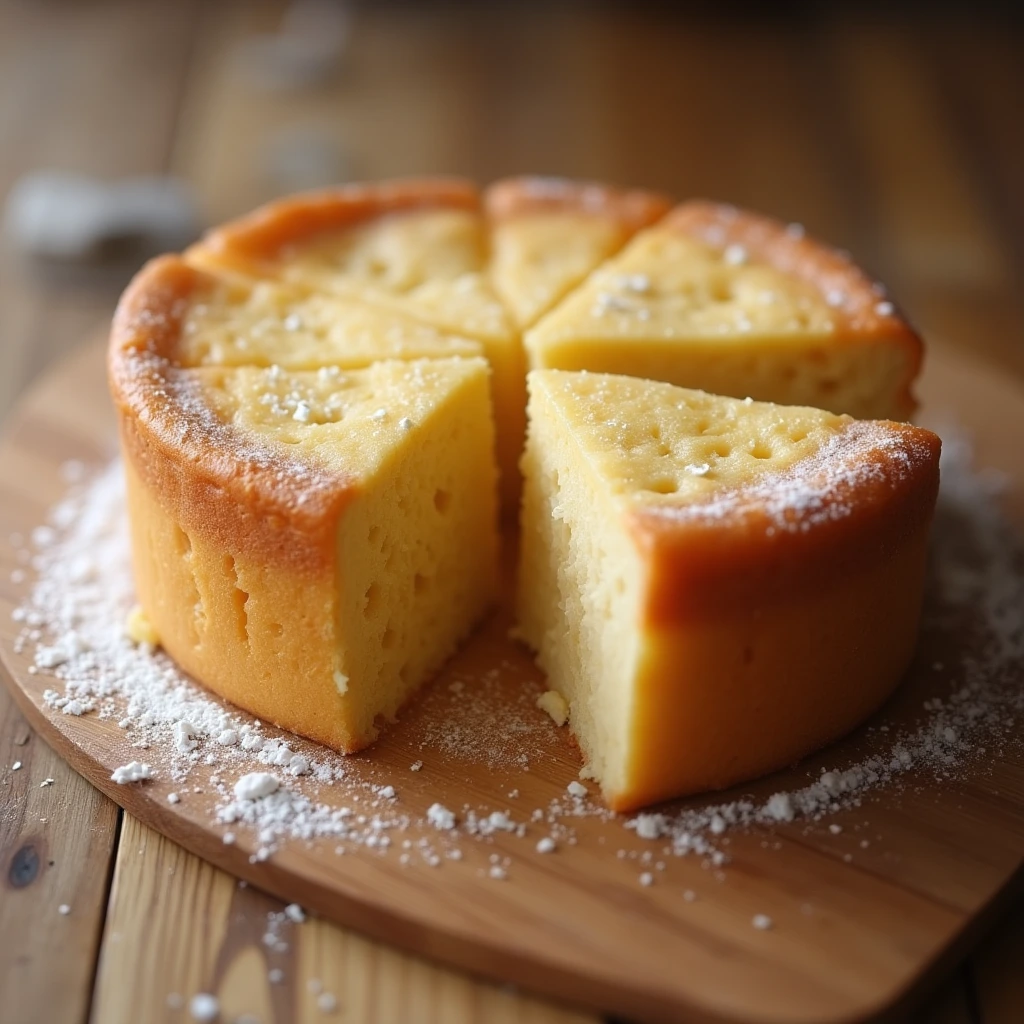
2. Bake and Cool the Cake
Pour the batter into your prepared heart-shaped cake pan. Bake for 25-30 minutes or until a toothpick inserted into the center comes out clean. Allow the cake to cool completely on a wire rack before frosting.
3. Trim the Cake for Perfect Heart Shape (Optional)
If you’re using a round cake pan, carefully cut the edges of the cake to form a heart shape. You can use a template or freehand it for a more personalized touch.
Decorating Your Heart-Shaped Cake

1. Frosting the Cake
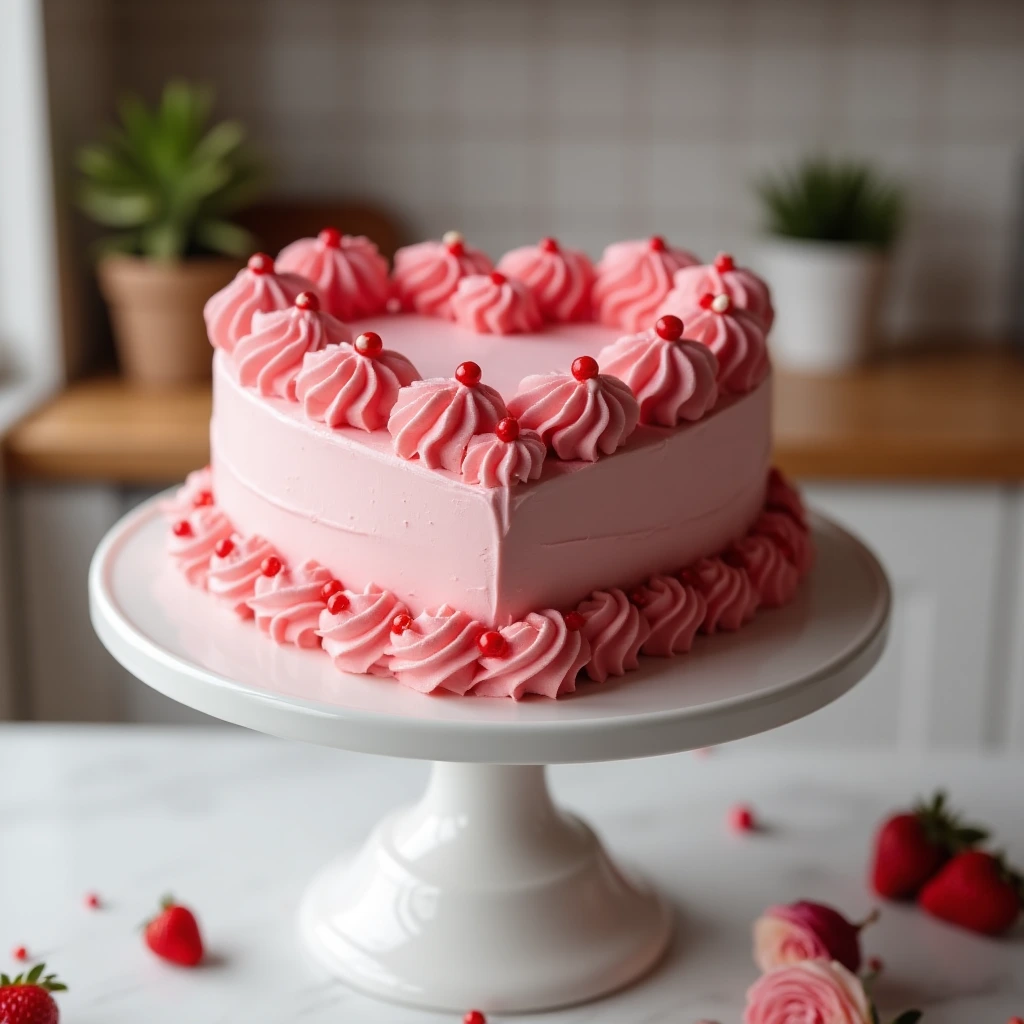
Start with a crumb coat—this is a thin layer of frosting that locks in any crumbs. Once the crumb coat sets, apply a thicker layer of frosting. You can use a buttercream or cream cheese frosting for a smooth finish.
2. Adding Decorative Elements
Once the cake is frosted, it’s time to get creative! You can add sprinkles, edible glitter, or fresh flowers for a stunning visual effect. If you’re feeling bold, try piping beautiful roses or hearts with your frosting.
3. Creative Ways to Personalize Your Cake
Personalizing your heart cake is easy. You can write a sweet message using piping gel or fondant. Consider adding initials or a small romantic phrase to truly make the cake your own.
For more creative cake ideas and detailed cake-decorating tutorials, check out Cake Decorating Techniques.
Tips and Tricks for Perfecting Your Heart Cake
1. How to Avoid Common Mistakes
Ensure your cake is moist by not overmixing the batter. Overmixing can result in a dense cake. Also, don’t skip the cooling process—frosting a warm cake can cause it to melt and mess up your decoration.
2. Troubleshooting Decorating Challenges
If your frosting is too thick to spread, add a little milk to achieve a smoother consistency. For easier piping, consider chilling your frosting before using it.
3. Storing and Serving Your Heart Cake
Once your heart cake is complete, store it in an airtight container to preserve its freshness. If you have leftovers, refrigerate them for up to 3 days. When serving, be sure to slice into the heart for a dramatic and beautiful presentation.
Conclusion
Making a heart-shaped cake is a fun and rewarding experience. Whether you’re a beginner baker or an experienced one, this simple tutorial ensures you’ll be able to create a cake that makes a big impact. From the versatile design to the personalization options, a heart cake tutorial like this one is perfect for any celebration. So why not try it out for your next special occasion?