
Mini Cakes Guide: How to Bake and Decorate Like a Pro
Mini cakes have taken the baking world by storm, offering the perfect balance of charm and practicality. Whether you’re preparing for a birthday party, a special occasion, or simply treating yourself, these bite-sized treats make a big impact. In this guide, we’ll show you how to bake and decorate mini cakes like a pro. From mastering the basics of baking to exploring creative decoration ideas, you’ll find everything you need to make your mini cakes the star of any event. Ready to impress with your cake-making skills? Let’s dive in!
1. Why Mini Cakes Are the New Dessert Trend

Mini cakes are more than just cute—they’re incredibly versatile and practical. Here’s why everyone’s talking about them:
Perfect Portions for Events
Unlike full-sized cakes, mini cakes offer individual servings, reducing waste and removing the need for cutting and serving slices. They’re ideal for weddings, birthdays, and baby showers.
Easier to Customize
Each mini cake can be decorated uniquely to suit different guests or themes. Think rainbow colors for kids or minimalist florals for adults—options are endless.
Great for Beginners and Pros
Mini cakes let new bakers practice decorating on a small scale while allowing pros to experiment with detailed designs or trendy techniques like mirror glaze and ombré frosting.
💡 Internal Link: Want more ideas for trendy desserts? Check out our Unicorn Cake Inspiration Guide.
2. Essential Baking Tools for Mini Cakes
Before you start baking, make sure you have the right equipment. These tools will help you create consistent results and beautiful presentations.
Mini Cake Pans and Silicone Molds
Choose between metal tins for sharp edges or silicone molds for easier release. Heart, round, and square molds are popular options.
Decorating Essentials
You’ll need piping bags, tips, a turntable, offset spatulas, and a scraper to smooth the sides and apply buttercream or ganache cleanly.
Quality Measuring Tools
Accuracy matters! Use digital kitchen scales and measuring spoons to keep batter ratios exact and your cakes light and fluffy.
Cooling Racks and Storage Boxes
Cooling your mini cakes properly prevents sogginess, while storage boxes help maintain freshness, especially if you’re baking ahead.
3. Step-by-Step Mini Cake Baking Instructions
Let’s walk through baking your mini cakes from scratch. Here’s how to achieve the perfect result every time:
Step 1: Pick the Right Recipe
Sturdy cake batters like sponge, pound cake, or red velvet hold their shape better and are easier to decorate.
Step 2: Prep Your Pans
Lightly grease your molds and line the bottoms with parchment rounds. This helps with easy release and clean edges.
Step 3: Fill Evenly
Use a scoop or piping bag to fill your molds evenly—about 2/3 full. Tap the pan gently to remove air bubbles.
Step 4: Bake and Cool
Bake at 160–170°C (320–340°F) for 15–25 minutes, depending on size. Test with a toothpick. Cool completely before decorating.
🧁 External Link: Want tried-and-true recipes? Visit Sally’s Baking Addiction for mini cake ideas and expert tips.
4. Decorating Like a Pro: Tips & Techniques
Now comes the fun part—decorating! With mini cakes, presentation is everything.
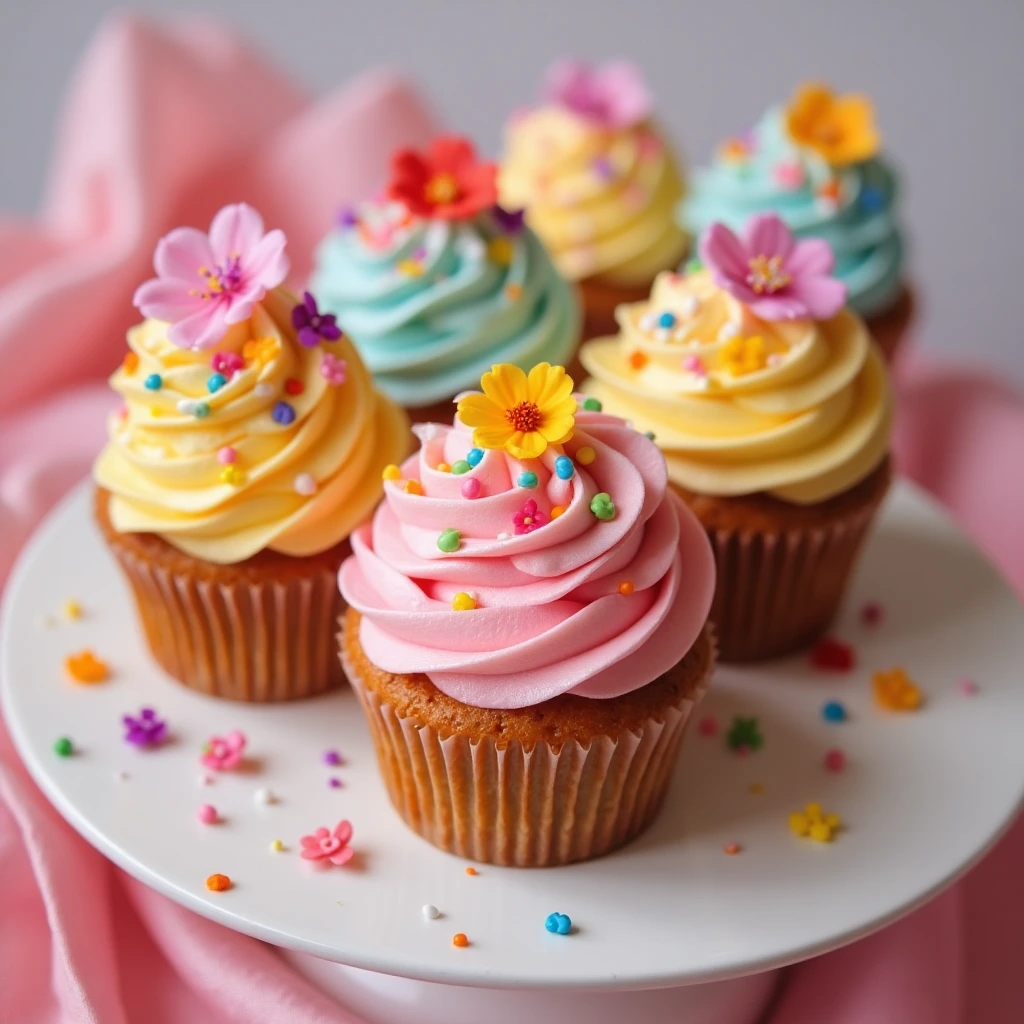
Buttercream Piping Techniques
Create swirls, stars, or rose-like patterns with different piping tips. Use a turntable for even coverage.
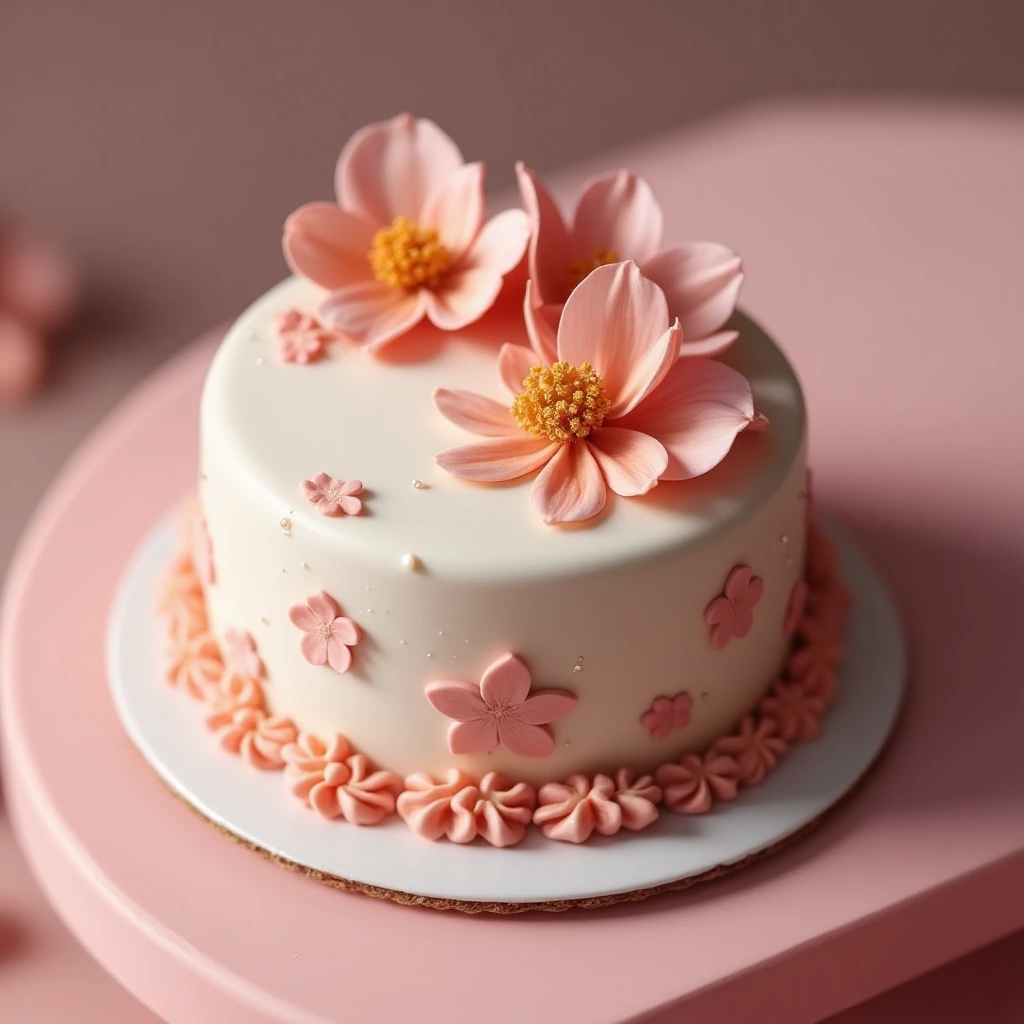
Fondant Finishing Touches
Smooth out fondant for a sleek look or use cutters for adding shapes, letters, and textures.
Creative Toppings
Sprinkles, edible glitter, mini macarons, chocolate shards, fresh flowers—get creative! But remember: less is often more.
Color Coordination
Stick to 2–3 colors for a cohesive design. Pastels work well for baby showers; bold colors shine for birthdays.
5. How to Present, Serve, and Store Mini Cakes
Presentation is key—especially if you’re baking for clients, gifts, or events.
Serving Ideas
Display on multi-tiered trays or individual cake stands. You can also use decorative cupcake liners for extra flair.
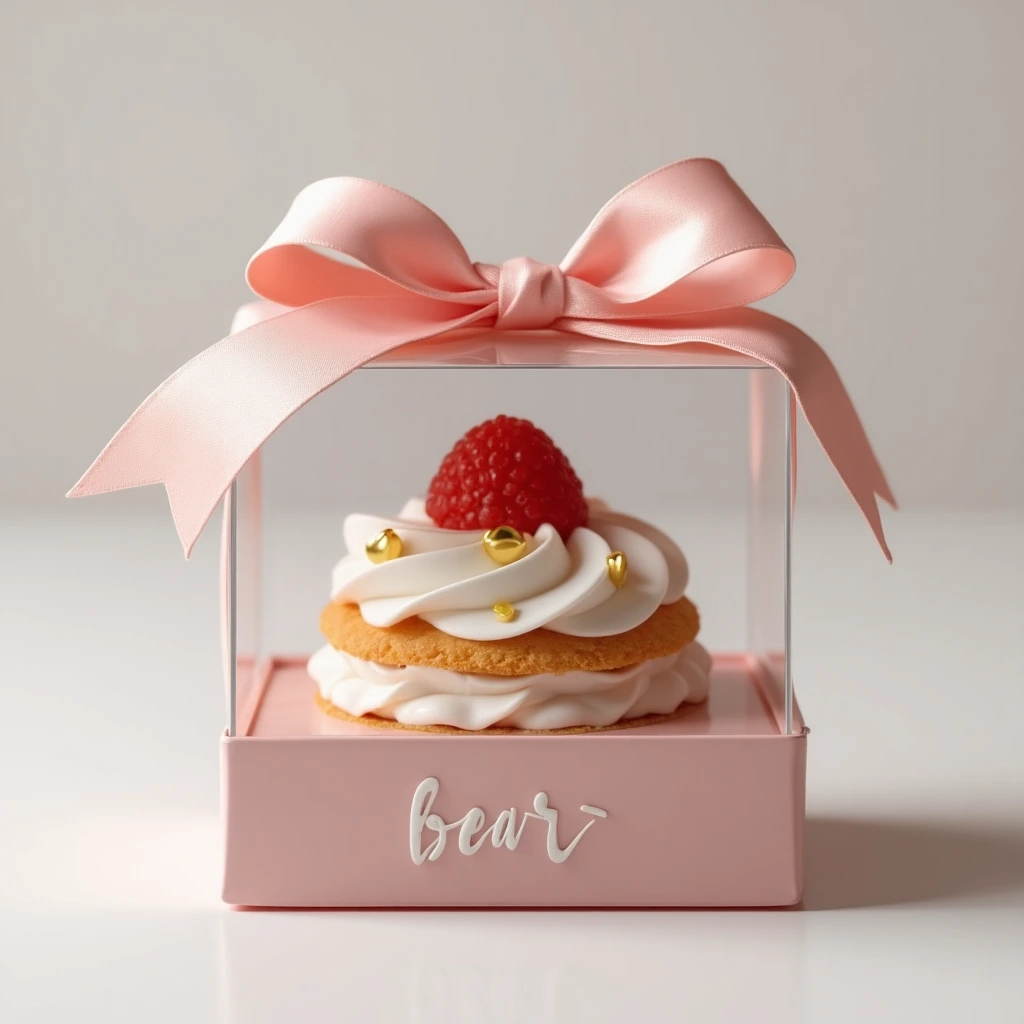
Gifting Tips
Place each mini cake in a clear box with a ribbon and personalized tag. It’s the perfect edible gift!
Storage Suggestions
Keep cakes in an airtight container at room temp for up to 3 days, or refrigerate if your frosting is dairy-based. You can also freeze them (unfrosted) for up to 2 months.
🎁 Internal Link: Need ideas for food gifts? Don’t miss our guide on DIY Edible Gifts for Every Occasion.
Conclusion: Start Your Mini Cake Journey Today
Whether you’re baking for fun, a special event, or turning your hobby into a small business, this mini cakes guide is your step-by-step companion. From the perfect bake to pro-level decorating and charming presentation, you’re now ready to impress your guests (or customers) with adorable and delicious mini cakes.
So grab your pans, whip up that buttercream, and start baking with confidence. Your next big treat might just come in a mini size!